How to Create, Share, and Import Goals in Google Analytics
Create goals and sharing/importing them among your other properties can be a huge timesaver in Google Analytics.
Your regular marketing reporting will more than likely include Google Analytics goals in some shape or fashion. Goals are one of the fundamental components to analyze when measuring what sort of website interactions are working, if ad campaigns are generating sufficient conversions, or the winner in an A/B test.
While goals are fairly easy to create (and we’ll briefly cover how to do that below in case you’re new to the whole concept), there’s the additional component of ensuring your goals are consistent from site-to-site. This is specifically true if your organization is running multiple websites for different brands or marketing initiatives. While the sites could differ, in many instances they are similar and your goals could be exactly the same.
This even applies to different “views” of one website. Say you have a view that reports all website traffic, and then another view that filters out specific IP addresses (such as your organizations internal IP address). In this scenario, you would have to configure goals for each different view.
In such instances, you have the capability of exporting/importing goals from one site to another and from one view to another. This will save yourself a considerable amount of time and ensuring your tracking is consistent across your multiple properties. This tutorial will delve into how to properly configure your goals and then how to use them on other views/websites.
Setting up Goals
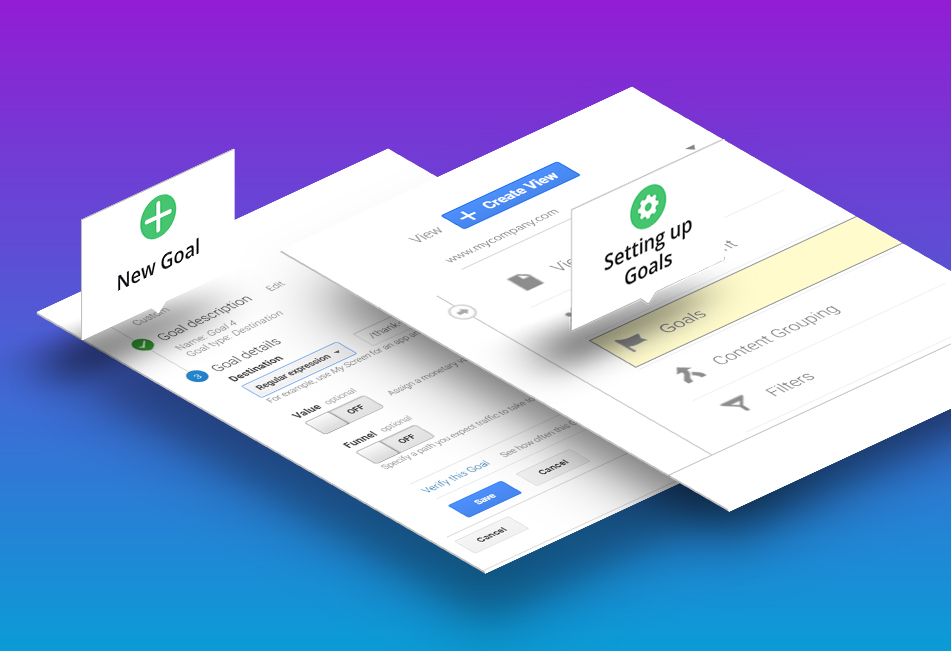
To begin, you first must set up goals within Google Analytics. Open up the property you want to create a goal. Click on the “Admin” link (the gear icon in the left navigation). Under the “View” column, you'll see the “Goals” link.

To add a new goal, click on the “+ NEW GOAL” button. The type of goal you want to create will depend on a number of factors. By far, the most popular and versatile goal type is “Custom”. For example purposes, we’ll create a custom “Contact Form Submission” goal where the type is set to “Destination” and the destination URL is set to “/thank-you/”.

Build out all of your goals in a similar manner. Sites can have a variety of goals, often checking for different things so get creative and consider what specific metrics you would like to track. At the end of this process, you should have a number of goals configured for a given property:

Importing Goals
With one property properly configured, you can now go about importing the goals to another property. What this essentially means is that you will be copying/pasting the configuration settings for these goals. The whole process is programmatic and saves you time, particularly if you have sites that have several goals associated with them. Begin by selecting all goals you would first like to export/use as templates, and click on the “Share” button.

This will open up a prompt asking how you would like to share the goals. Select the first option (“Share template link”) and click the “Share” button. This will generate a link for you to use.

Paste that link into your browser. What pops up is the import configuration window, where you’re able to select what property and view you want to import the goals into. Select that property and click the “Create” button.

If successful, you will be redirected to this property with the Goals imported and ready to track.

All-in-all, this can be a lifesaver when managing multiple sites, multiple views, and a rich array of marketing campaigns with different properties. By sharing or importing your goals, you’re able to better standardize your reporting methods across sites and views, making the life of the digital marketer so much easier.


